NEW DELHI: Here’s a situation a lot of new business owners run into. You start selling something, maybe snacks, maybe clothes on Instagram, and sales are going well. Then a buyer or a delivery platform asks for your GST number. Suddenly you’re searching the internet at midnight, wondering where to begin.
Let’s make it simple. You apply on gst.gov.in, entirely online. You don’t need to visit an office, and the government doesn’t charge a rupee for it. If someone asks you for money to “do the GST for you,” take a moment and think.
Do you need to register?
Not always. For goods, the limit is Rs 40 lakh in most states, so a very small seller may not need one. Then again, some people must register from day one, including those who sell through e-commerce platforms. If you can’t tell which side you’re on, a tax professional can tell you in ten minutes.
Step 1: Get your papers in order
This part is boring, but it saves you hours. Keep these ready:
- PAN card
- Aadhaar card
- A photograph
- Business address proof and bank details
- Company papers, if you run a company or partnership
Own the property? An electricity bill is fine as address proof. Renting? You need the rent agreement plus a no-objection letter from the landlord. Save each file as a JPEG or PDF under 1 MB, and make sure the scan is clear. Blurry files get rejected.
Step 2: Go to the GST website
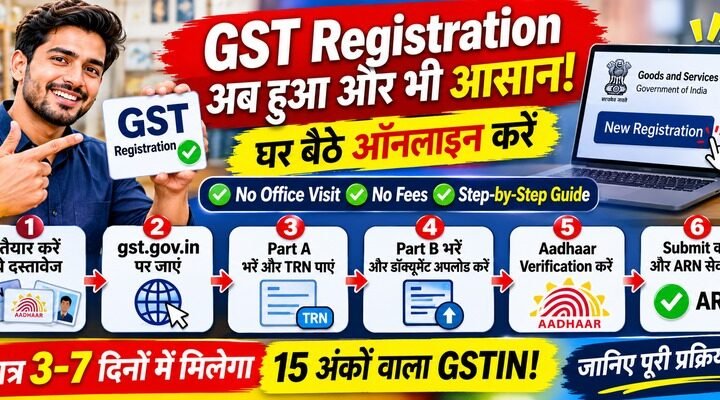
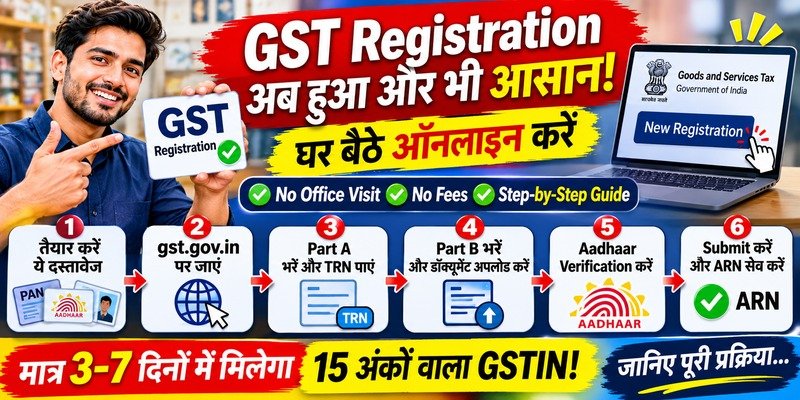
Open gst.gov.in. Click Services, then Registration, then New Registration.
Step 3: Fill in Part A
Choose “Taxpayer.” Pick your state and district. Then type in your business’s legal name exactly as it appears on your PAN. Add your PAN, email and mobile number.
Step 4: Enter the OTPs
Codes will arrive on your phone and email. Enter them, and the site gives you a TRN, short for Temporary Reference Number. Note it down. You’ll use it in a minute.
Step 5: Log in and complete Part B
Log in using your TRN. This is the longer part. You’ll add details about your business, its owners, its address and your bank account, and upload your documents.
One mistake causes more rejections than any other: names that don’t match. If your PAN says one thing and your bank account says another, even a small difference like “Pvt Ltd” versus “Private Limited,” the application can bounce back. Check both before you submit.
Step 6: Finish Aadhaar authentication
Go for Aadhaar authentication early, since it speeds things up. Biometric Aadhaar verification is also required for new registrations now. If the online check doesn’t work, you may need to visit a GST Seva Kendra to give your biometrics.
Step 7: Sign and submit
Sign the form with a digital signature or an EVC, then submit it. Companies and LLPs usually need a digital signature certificate. Most individuals just use the EVC, a code sent to their registered mobile number.
Step 8: Keep your ARN
After you submit, you get an Application Reference Number, or ARN. Screenshot it. Write it in a notebook. You’ll need it to check progress.
Step 9: Follow your application
Go to Services, then Registration, then Track Application Status, and enter your ARN. Now and then, an officer asks for extra details. Reply fast, because a slow reply can end in rejection.
How long will you wait?
Most applications take 3 to 7 working days, as long as your Aadhaar is verified and your documents are fine. After approval, your GSTIN arrives. That’s your 15-digit GST number.
The short version
- Get your PAN, Aadhaar, photo, address proof and bank details ready
- Open gst.gov.in and click New Registration
- Fill in Part A and get your TRN
- Fill in Part B and upload your documents
- Complete Aadhaar authentication
- Sign, submit and save your ARN
- Track your status until the GSTIN arrives
It’s a bit of paperwork and a few days of waiting, nothing more. Be careful with your details, and the number will come.